.png)


Step into a world where attending your favorite events becomes an extraordinary journey. Imagine combining the thrill of buying tickets and organizing your events with the captivating potential of blockchain and NFTs. Unleash a new level of engagement, security, and ownership as you dive into a realm where events become more than just moments.
In this blog, we'll go through the process of constructing an event ticketing marketplace. You'll learn how to create new events, explore existing events, and mint event tickets as NFTs.
What is Underdog Protocol?
Underdog Protocol is a platform that assists developers and startups in simplifying their interactions with digital collectibles. It allows them to seamlessly integrate web3 into their products or workflows to enhance their user experience.
Here are some useful resources :
Technologies used in this project include:
- Underdog protocol
- Next.js
- Chakra-ui
- Express
Generating API keys
Visit Underdog Protocol click on 'Get Started', and connect your wallet. Once inside the dashboard, click on 'API keys' and generate your API key to access the Underdog Protocol REST APIs.

The app flow is as follows:

The build process consists of two key components: "Create Event" and "Mint Ticket." Here are the steps involved for each side:
Create Event:
- The process begins with the user connecting their wallet and entering event details, including name, date, image, location, and description.
- Using the provided information, a project is created on the Underdog Protocol platform.
- The event is then listed on the marketplace, allowing others to browse and purchase tickets for the event.
Mint Ticket:
- The user starts by connecting their wallet and browsing through the list of available events.
- Upon selecting their desired event, they can click on it and choose the "Mint Ticket" option.
- Subsequently, the NFT ticket associated with the event project created previously is minted and transferred to the user's wallet.
Making API calls
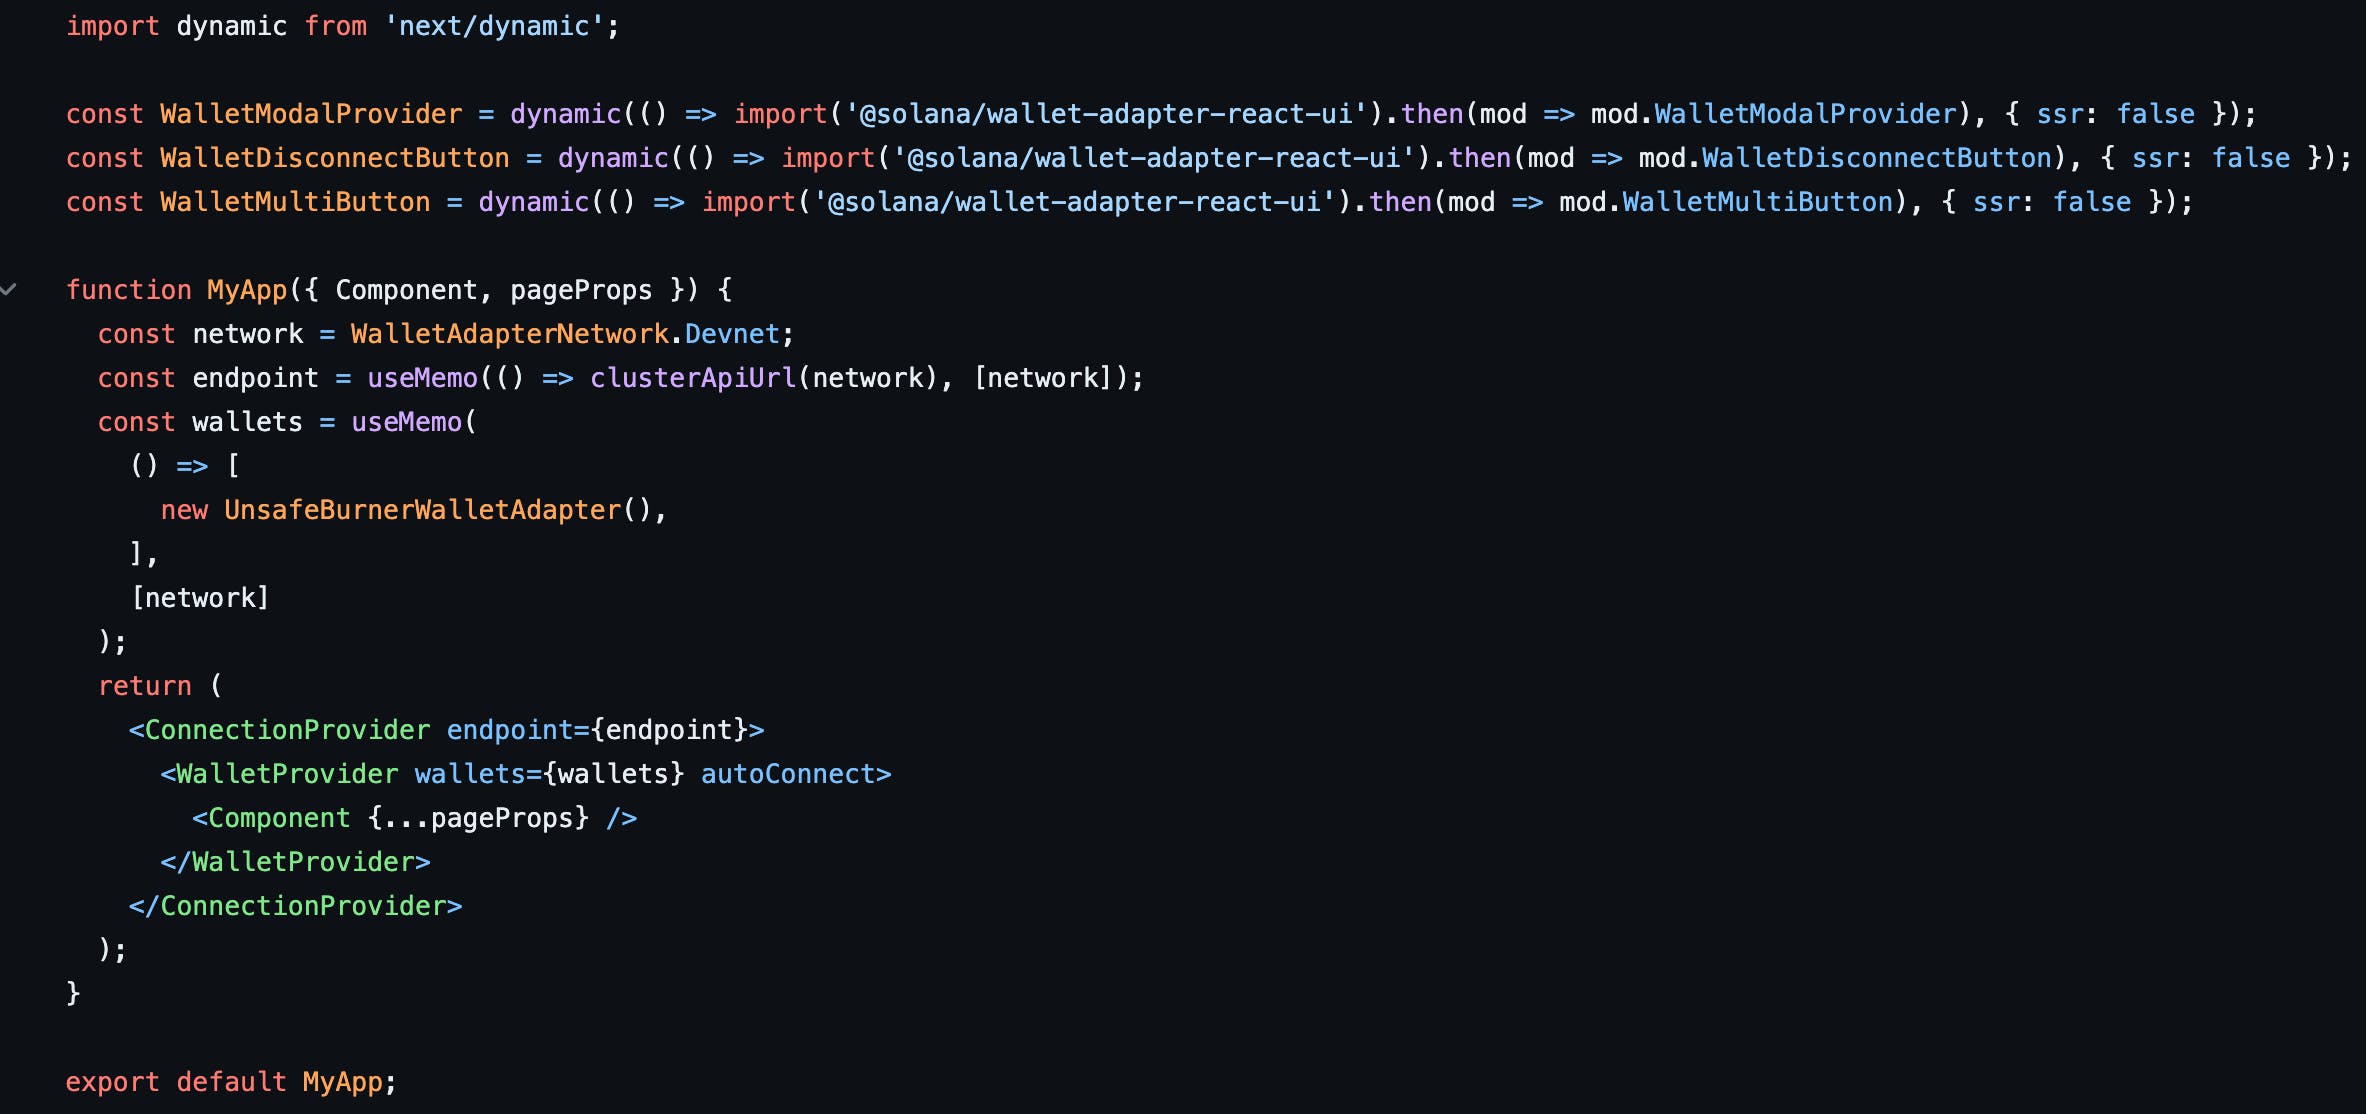
Before making all necessary API calls to the tools and protocols, ask the user to connect their wallet. Using the Solana wallet adapter and Solana web3.js packages, implement a 'connect wallet' button that detects installed wallets on the user's browser and prompts them to connect.
The app flow entails making a couple of essential API calls. These are as follows:
Create event
To create a project for the event, you need to gather and filter the relevant details entered about the event by the user. Then, you can make the API call to the "create a project" endpoint to initiate the project creation process.
COPY
COPY
https://dev.underdogprotocol.com/v2/projects
After successfully creating the project, it's important to save the event details and the corresponding project ID. This allows you to list the event on the marketplace for others to purchase.
Mint ticket
To enable the user to mint the ticket in the form of an NFT, you need to make an API call to the following endpoint, which generates a claimable NFT link. This link allows the user to initiate the ticket-minting process.
COPY
COPY
https://dev.underdogprotocol.com/v2/projects/n/{projectId}/nfts/{nftId}/claim
Congratulations! You have successfully built a simple app that enables users to create events and distribute tickets as NFTs. This is just the beginning, as you can further enhance the app by incorporating features like minting tickets only upon purchase and exploring additional functionalities of your choice.
We highly encourage you to continue experimenting with the Underdog APIs to implement new ideas to take your app to the next level. The possibilities are endless, and we can't wait to see what you create!
Let's delve into another tutorial soon, and until then, keep buildin.